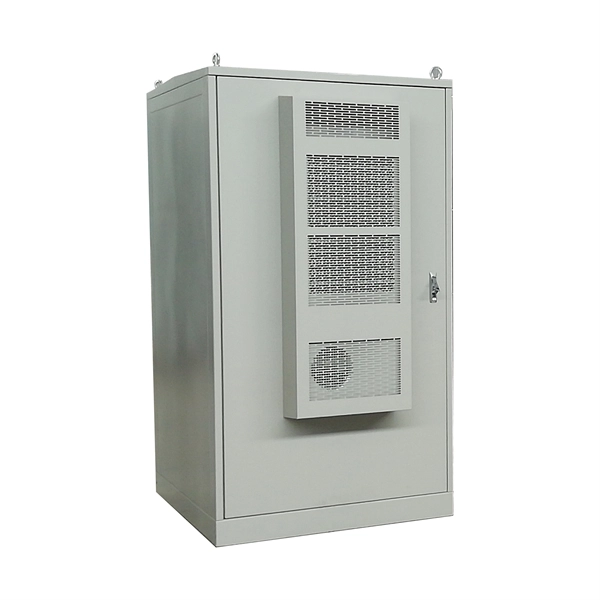
A 20-position distribution box is configured by selecting the right enclosure, arranging protective devices, wiring circuits correctly, grounding, labeling, and testing for safety and compliance.Step 1: Select the Right Distribution Box
Choose a box suitable for your environment (indoor/outdoor) and load requirements. Check the IP or NEMA rating for protection against dust and water, and select a material (steel for durability, plastic for indoor use) that fits the installation location. Ensure the box has enough space for 20 outgoing circuits plus spare positions for future expansion and includes DIN rails for mounting breakers and other devices .
Step 2: Plan the Internal Layout
Inside the box, arrange the following components:
- Busbars for line, neutral, and earth connections
- MCBs (Miniature Circuit Breakers) or SPDs (Surge Protective Devices) for each circuit
- RCCBs or RCBOs for residual current protection
- Terminal blocks for neat wiring
- Leave space for heat dissipation and future upgrades .
Step 3: Install the Box
Mount the box at a convenient height (typically 1.5 meters for residential setups) in a dry, accessible location with good ventilation. Ensure it is stable and level, and leave clearance around it for maintenance .
Step 4: Wiring the Circuits
- Prepare wires: Strip insulation to the correct length and use the proper gauge for each circuit.
- Connect input supply: Line (L), Neutral (N), and Earth (PE) from the main supply to the main breaker or isolator.
- Connect outgoing circuits: Each MCB or RCBO should feed a single circuit. Connect line to line, neutral to neutral, and earth to earth, following color coding standards.
- Neat cable management: Use cable ties and route wires to avoid tangling and ensure heat dissipation .
Step 5: Labeling and Documentation
Label each circuit clearly to indicate its purpose (e.g., lighting, sockets, AC). Maintain a wiring diagram and parts list for future maintenance or inspection .
Step 6: Testing and Safety Checks
Before powering on:
- Perform a visual inspection to ensure all connections are secure.
- Use a multimeter or insulation resistance tester to verify proper insulation and continuity.
- Check that all protective devices are correctly rated for the load .
Step 7: Compliance and Maintenance
Ensure the installation complies with local electrical codes (NEC, IEC, or regional standards). Schedule regular inspections to maintain safety and reliability, and consider modular designs for easier future upgrades . By following these steps, a 20-position distribution box can be safely and efficiently configured to handle multiple circuits while allowing for future expansion and maintenance.